Get openBVE up and running
If this is your first time installing openBVE, or you are encountering issues, please follow these install instructions: Note: This guide is for the installation on Windows 11 only. If you are using eariler versions of Windows, some steps may differ from the list below.
System Requirements
Operating System: Windows 7 or later
Processor: Pentium 4 @ 2.6GHz or better
Memory: At least 1GB of RAM
Storage: At least 500MB
Note: You may require a better processor, memory and graphics card to run the game with better performance.
Step 1 - Download the Main Program
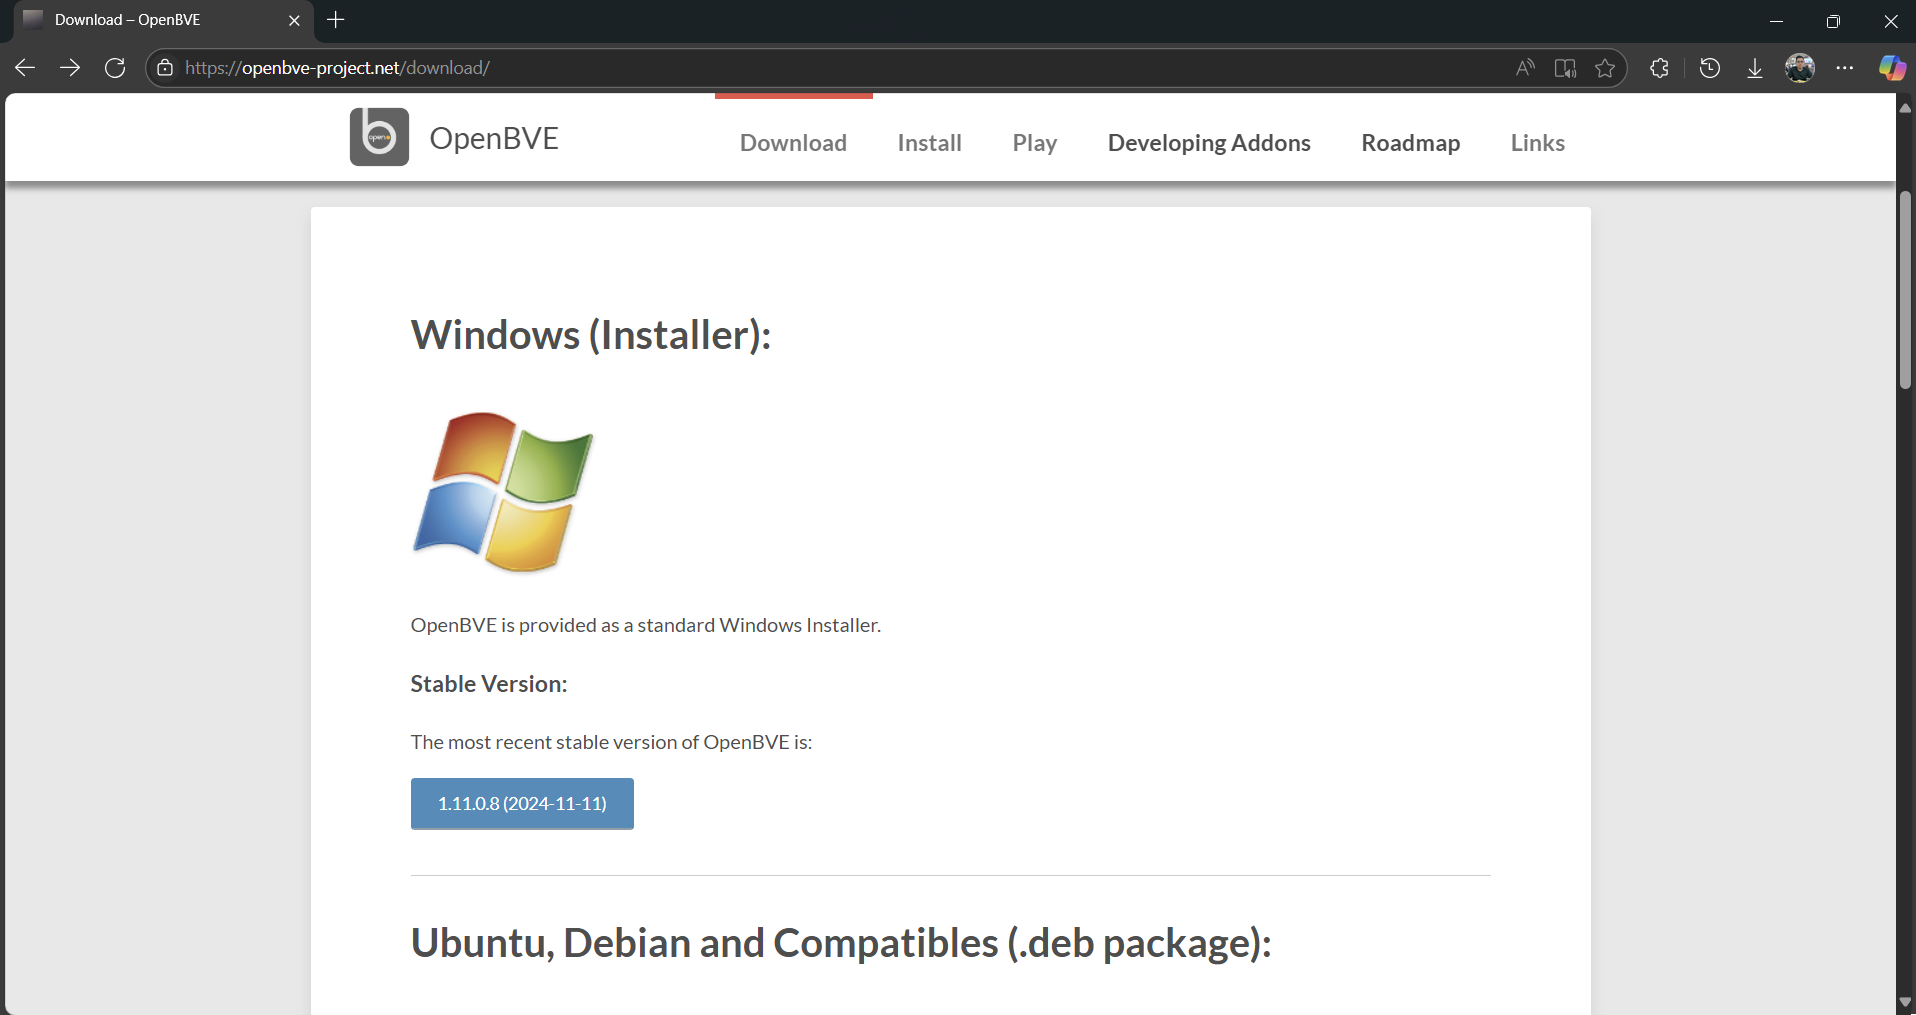
We recommend downloading the latest stable version of the openBVE main
program.
OpenBVE
Step 2 - Installing the Main Program
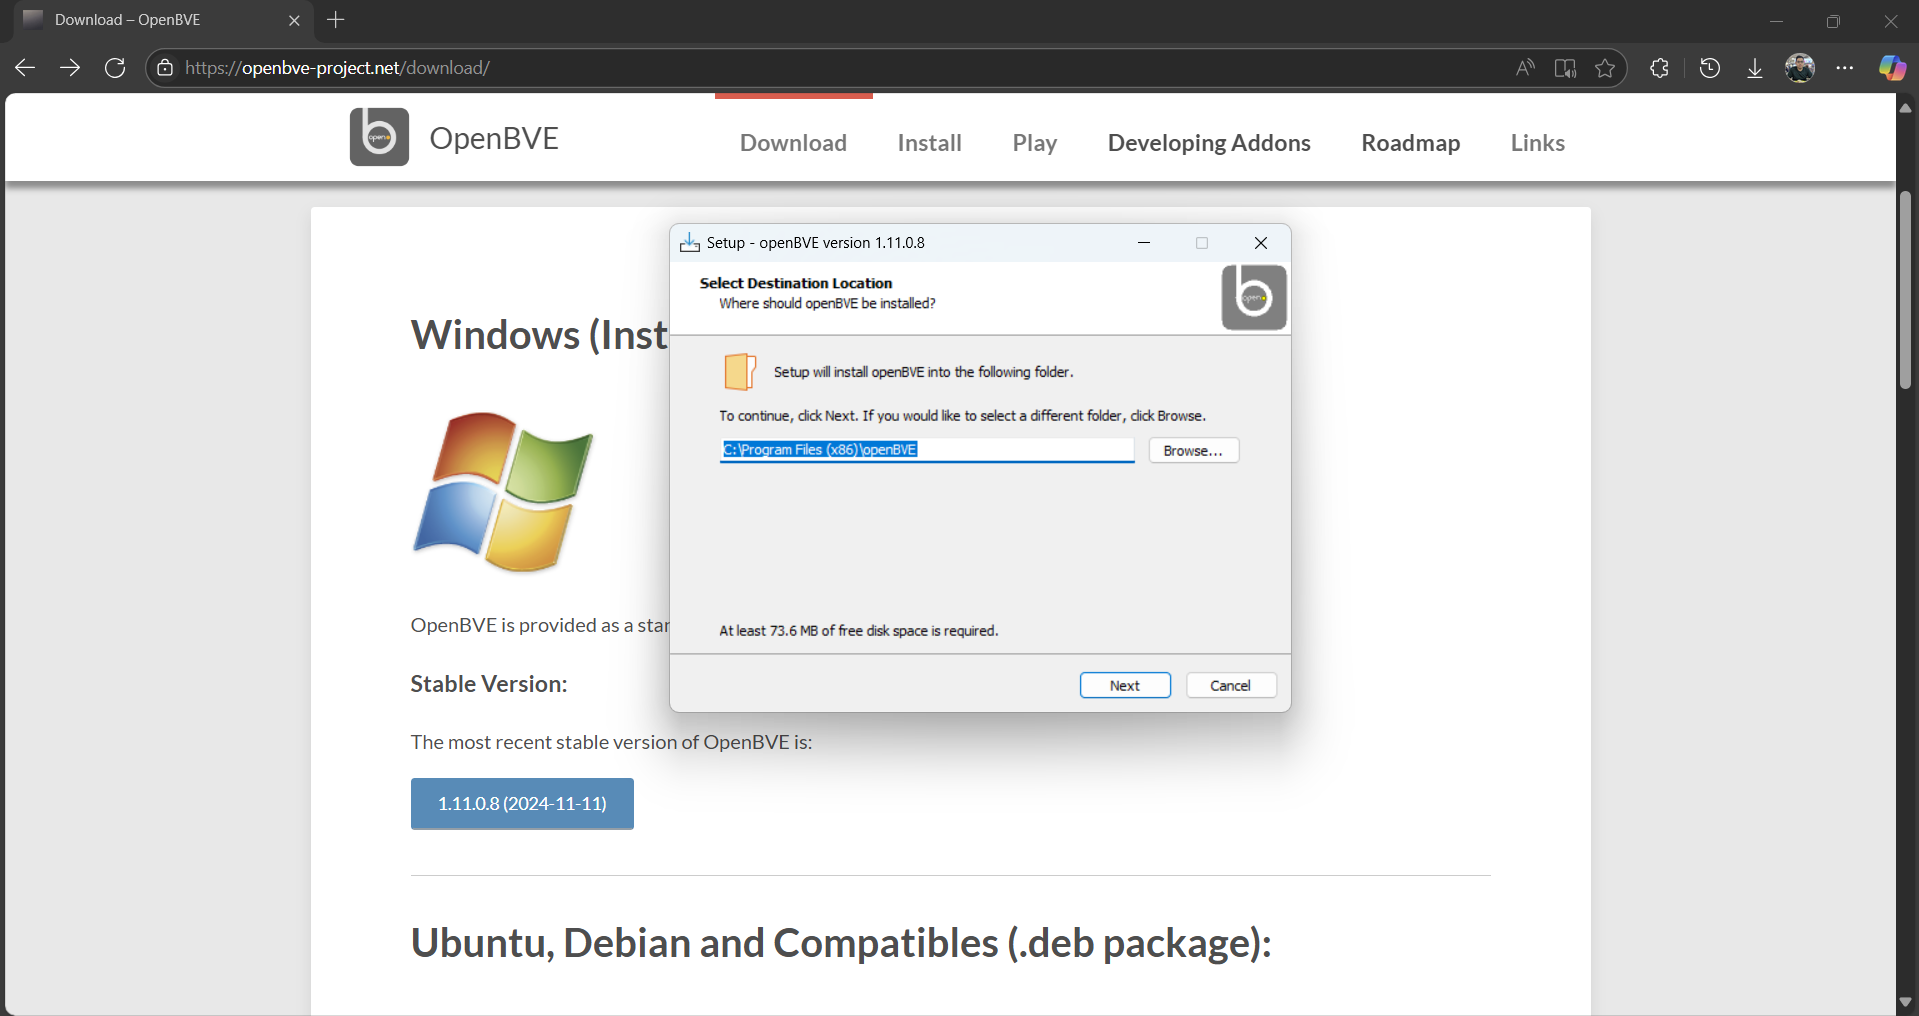
Follow the installation process as shown in the installer. To facilitate
easier installation of the program, check both "Create a desktop
shortcut" and "Create a desktop shortcut to the openBVE Addons folder".
You may change the installation folder of the main program.
Let openBVE run for the first time after the installation is complete.
Staying up to date
We recommend downloading the latest stable version of the openBVE main program.
OpenBVE
Follow the installation process as shown in the installer. To facilitate easier installation of the program, check both "Create a desktop shortcut" and "Create a desktop shortcut to the openBVE Addons folder". You may change the installation folder of the main program. Let openBVE run for the first time after the installation is complete.
Simply download the main program again and extract it to your install directory. You do not have to download the other stuff again.
Step 1 - Downloading the Routes
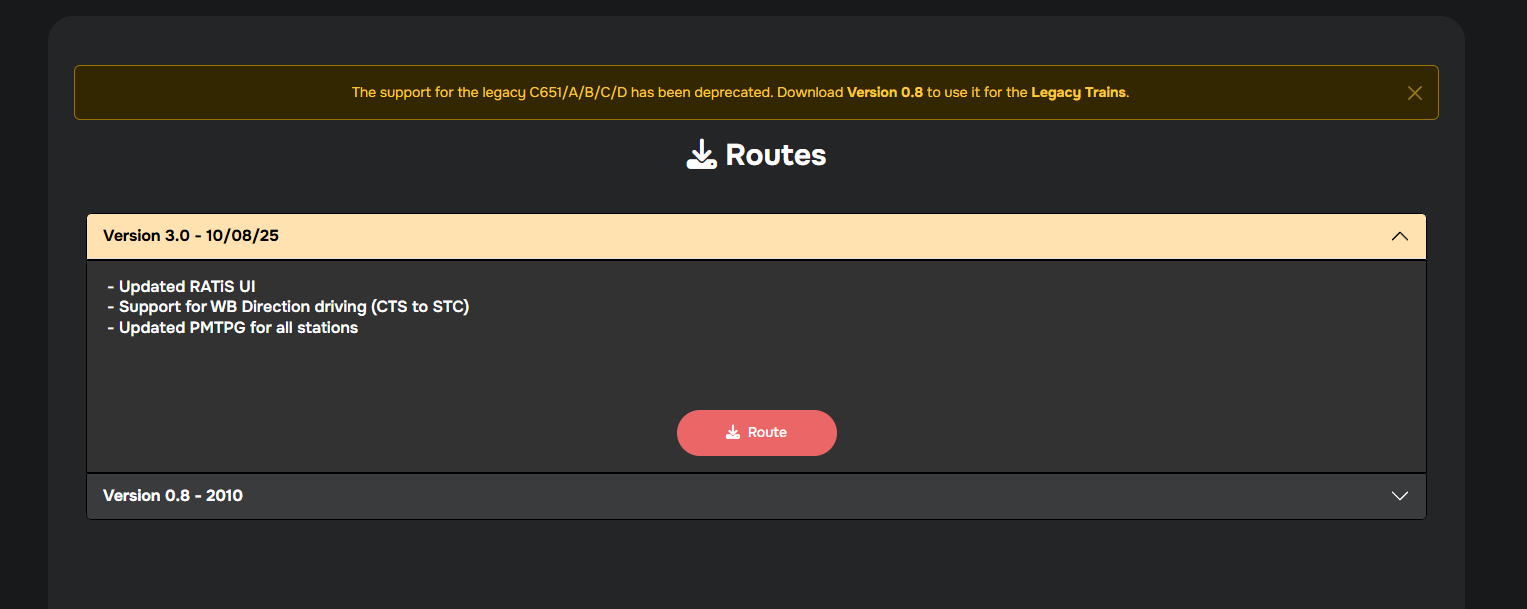
NOTE: This is applicable for all the released routes. First up, download any route File. We'll be using the North West Line for this guide.
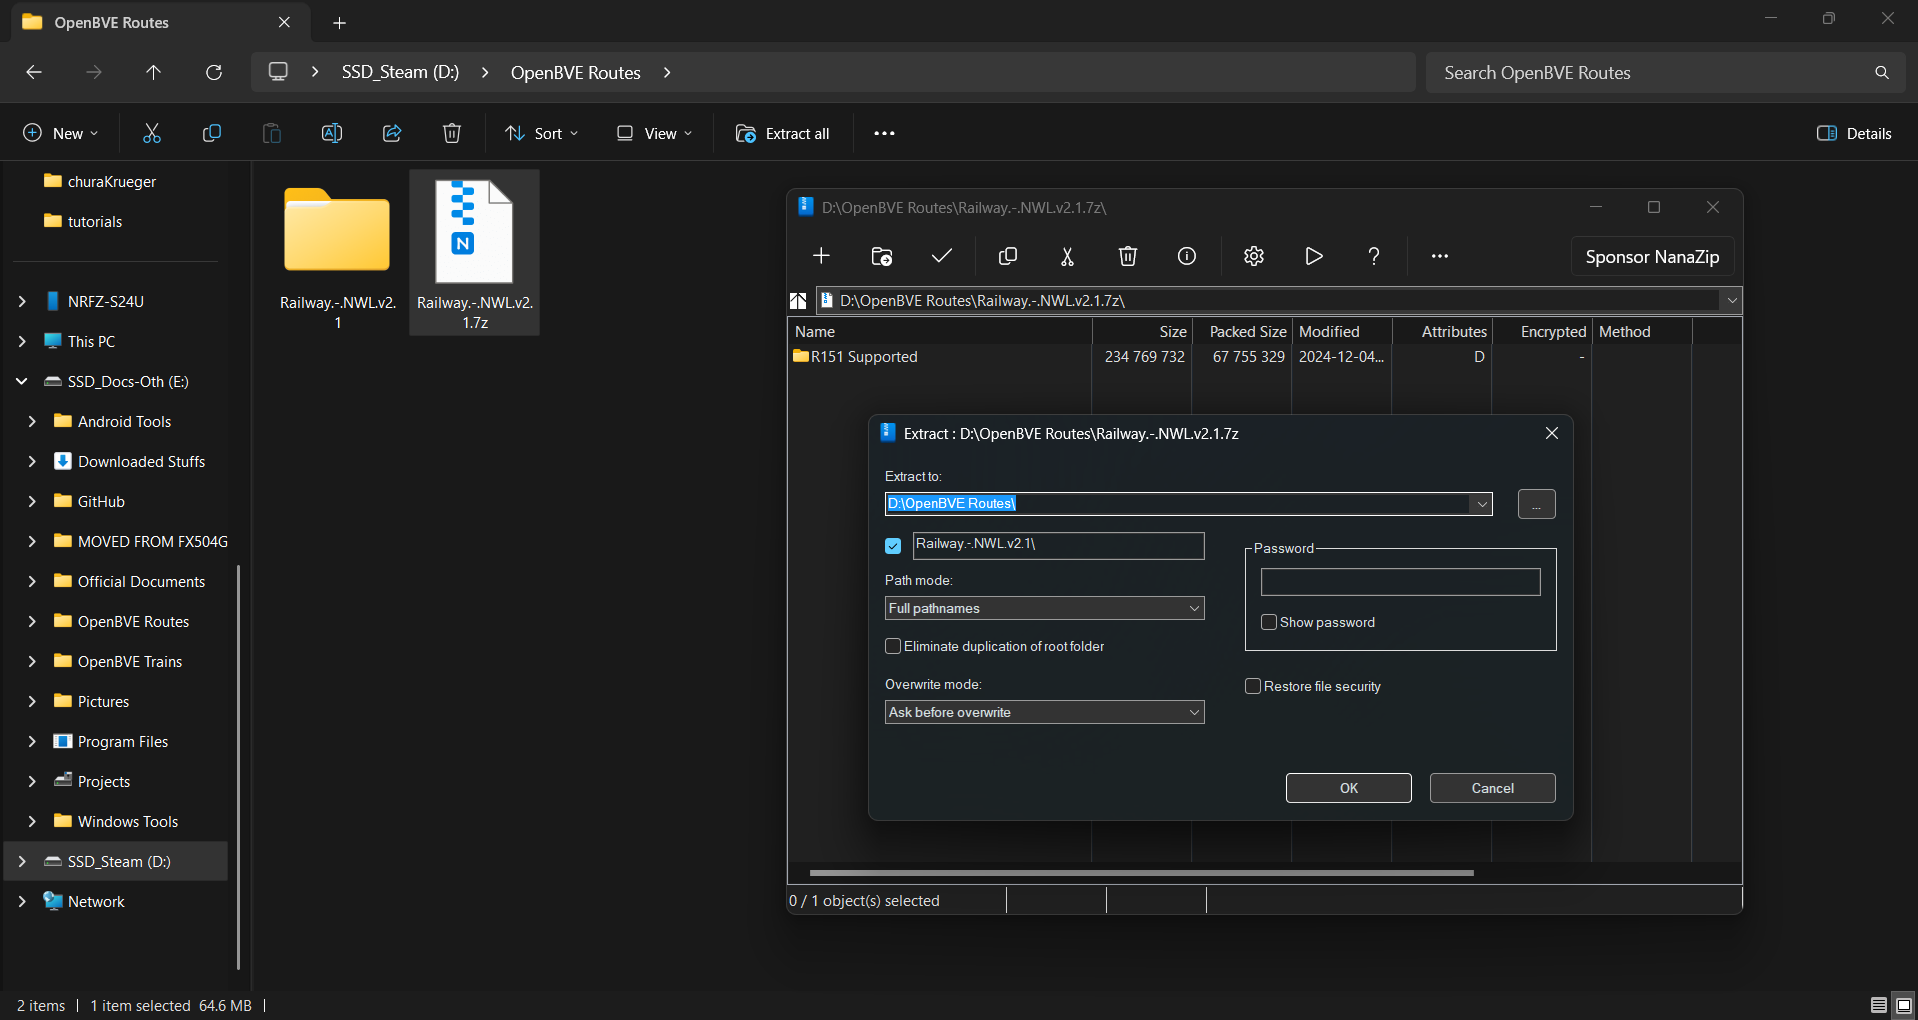
Ensure the files are together for easier navigation, as shown below. Extract the
file.
You are now ready to use the route. These steps apply for the KSFs too! Do note that we recommend OpenBVE Version 1.9.27 (64-bit) or higher for optimal experience. For housekeeping measures, you may remove the Zip file after extraction.
Get OMSI 2 up and running
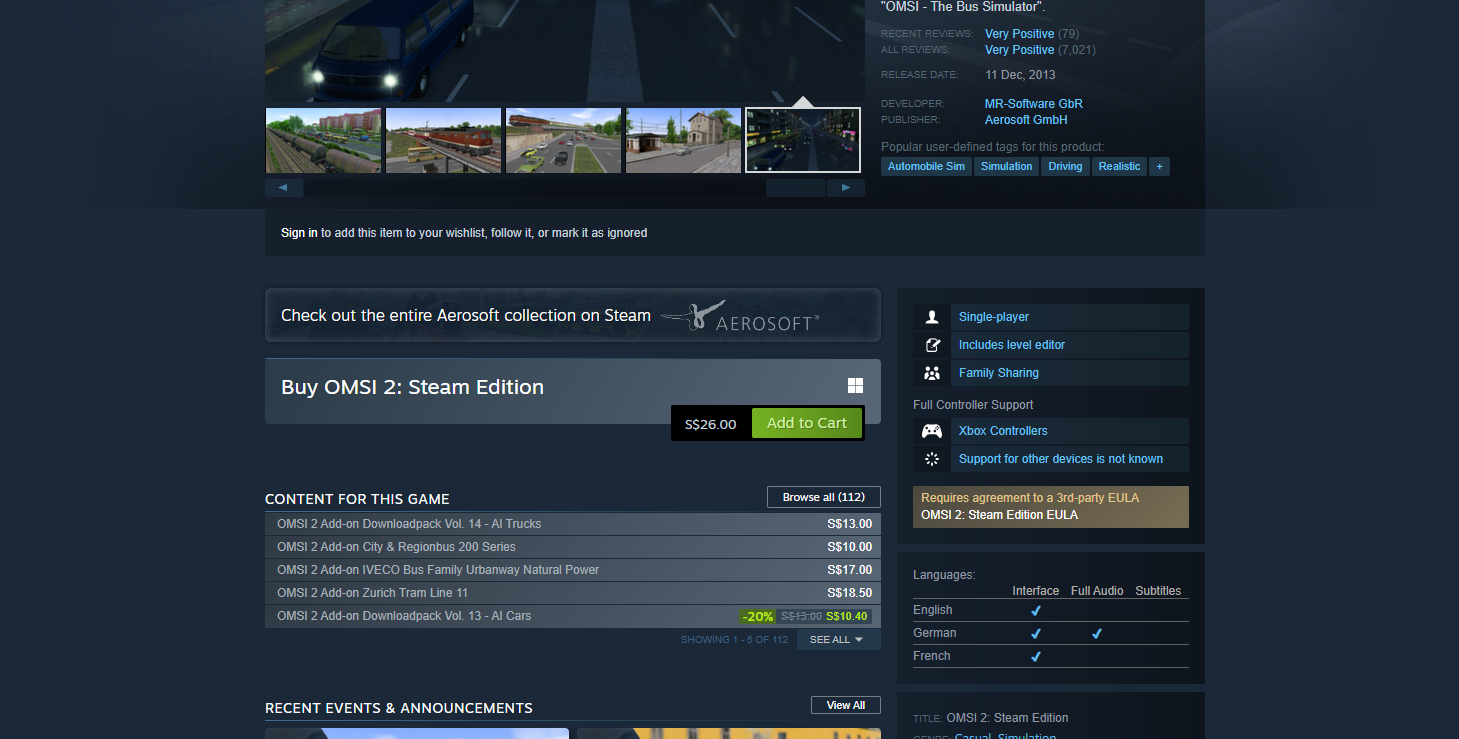
OMSI 2 is a DLC. Simply purchase OMSI 2 from Steam and you're good to go!
System Requirements
Operating System: Windows 7 or later
Processor: Pentium 4 @ 2.6GHz or better
Memory: 2 GB RAM
Graphics: GeForce or comparable AMD with minimum 512 MB
DirectX: Version 9.0c
Note: You may require a better processor, memory and graphics card to run the game with better performance.
Step 1 - Purchase the Program from Steam
Step 2 - Familiarizing the OMSI 2 Directory
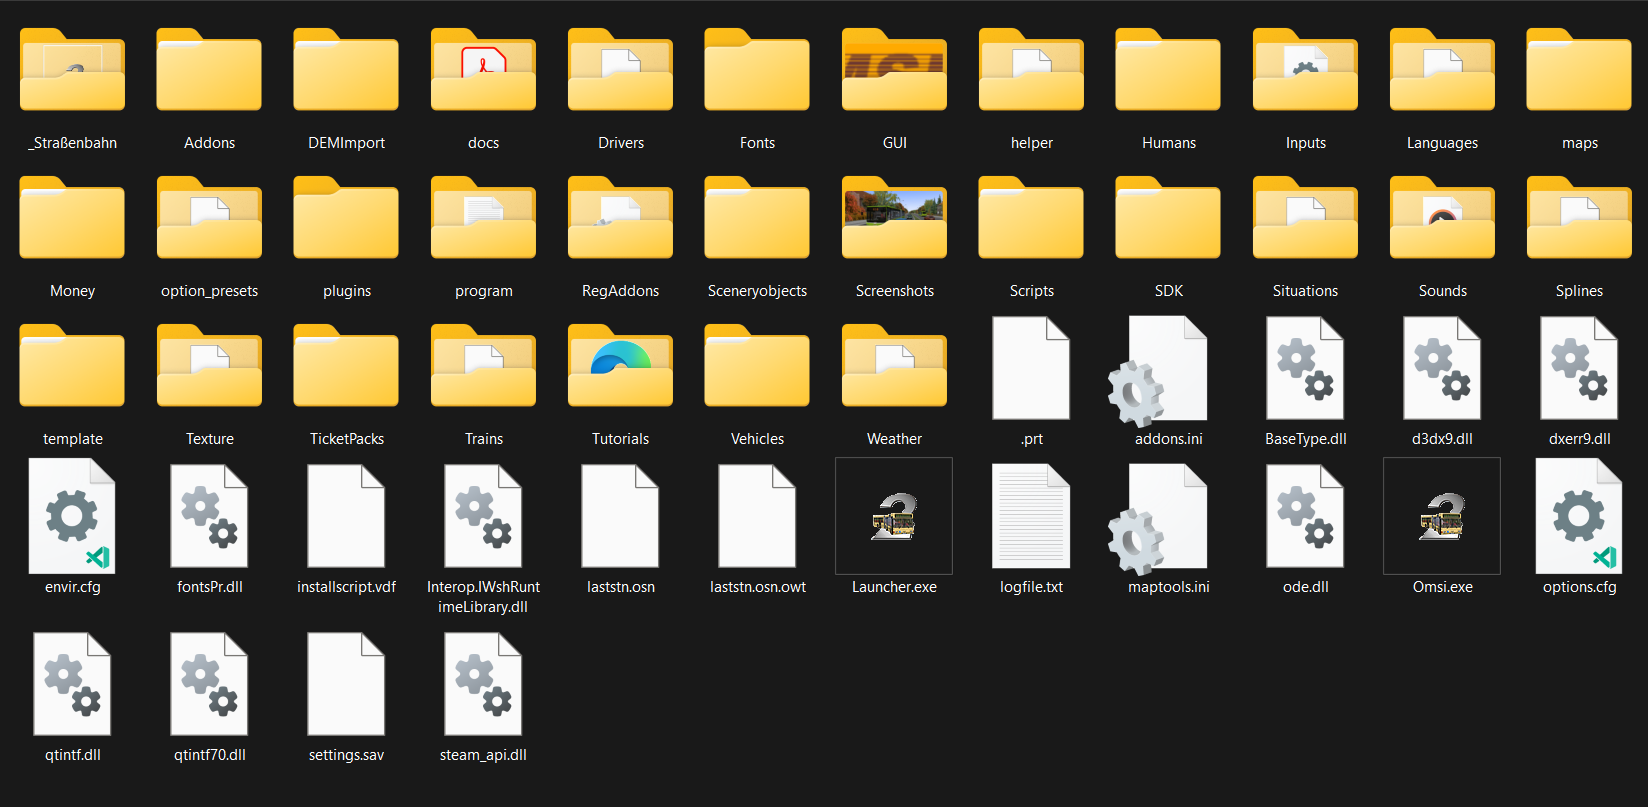
After installing Steam, and purchasing the DLC, navigate to C:\(your
Directory)\steamapps\common\OMSI 2. All your OMSI 2 stuffs will be
housed here.
After installing Steam, and purchasing the DLC, navigate to C:\(your Directory)\steamapps\common\OMSI 2. All your OMSI 2 stuffs will be housed here.
Our released buses are a complete package. Hence you would only need to download the
following :
- Fonts (for
BOTH Bus & Maps)
-
Sceneryobjects (for Maps)
- Splines (for
Maps)
- Krueger EDS
Scripts (for
Bus)
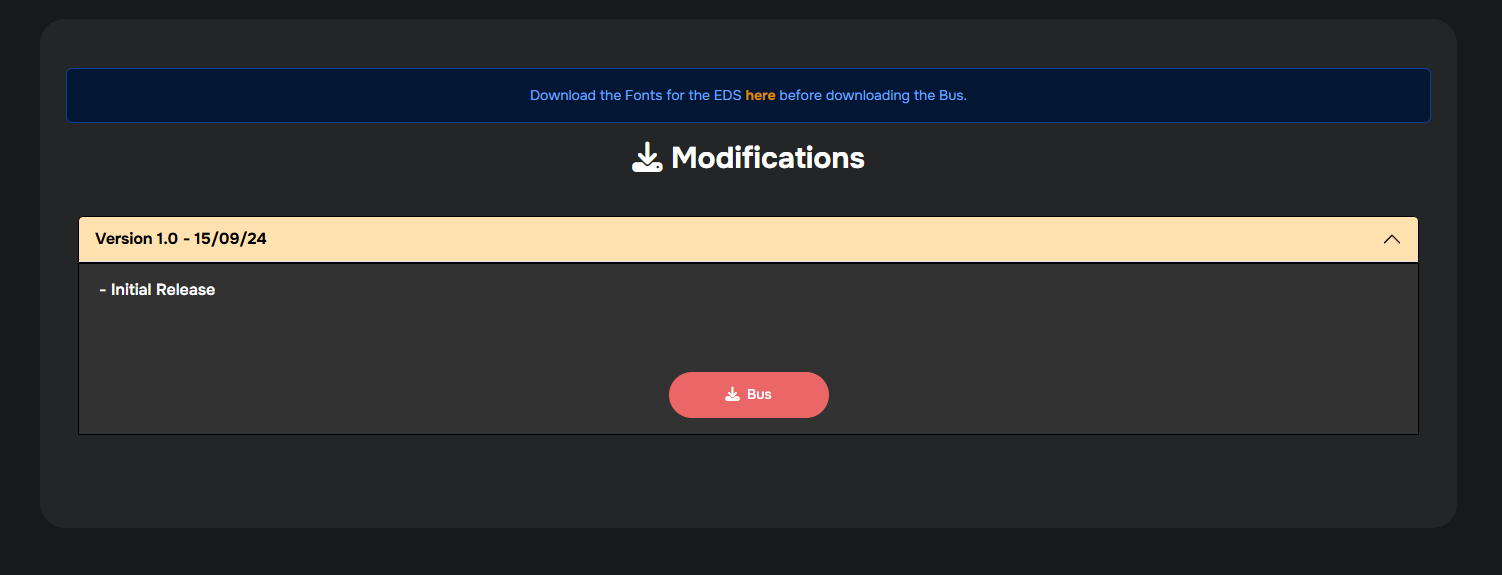
Step 1 - Downloading our Maps/Buses
NOTE: This is applicable for all released buses. For this
guide, we'll be demonstrating how to do so for the Solaris Urbino 18.
First up,
download
the Bus.
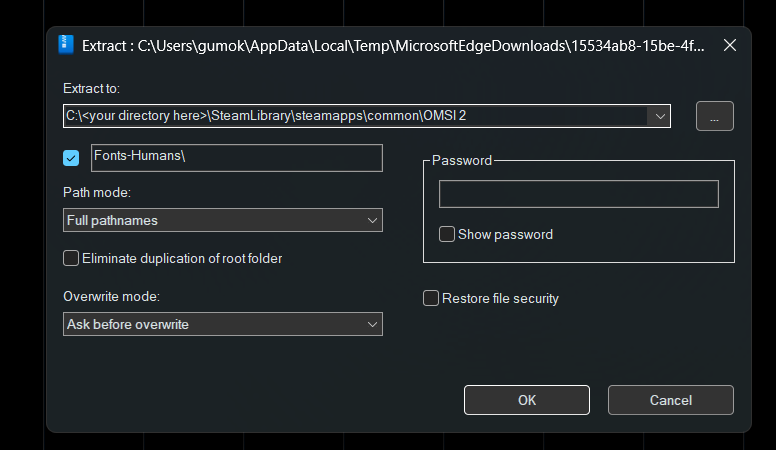
Step 2 - Extracting it into your OMSI 2 Directory
Open the Fonts & Bus Zip file and extract the folder into the OMSI directory (C:\(your Directory)\steamapps\common\OMSI 2).
We recommend using 7-Zip or NanaZip (shown in the video) to extract.
This will be the same for any releases except Repaints.